The Absolute Basics
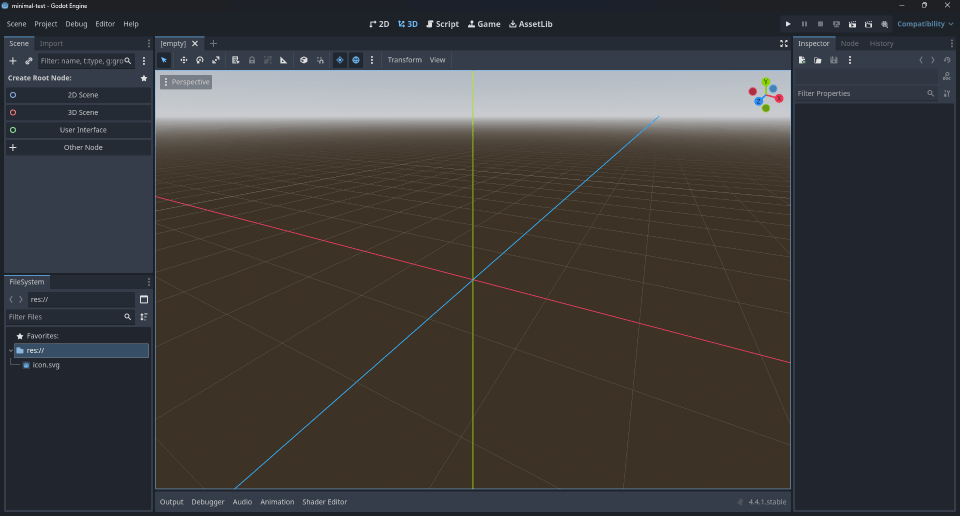
Before we do any custom collisions, complex projectile behaviors or modified classes, let's start fresh. Not with any pre-made assets, already built projects or anything fancy, just a standard empty Godot project.
Enabling the Plugin
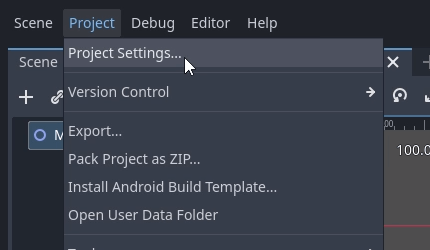
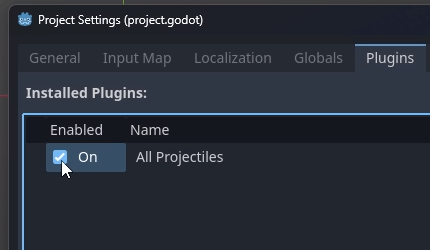
Once installed, you will need to activate the addon for it to work properly.
Go to your Project Project Settings and under the Plugins tab enable the checkbox for the All Projectiles plugin.
Setting up the scene
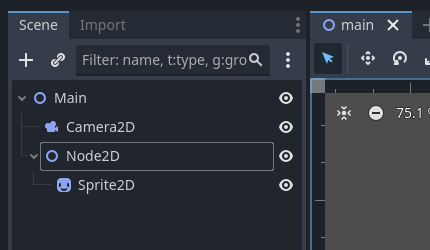
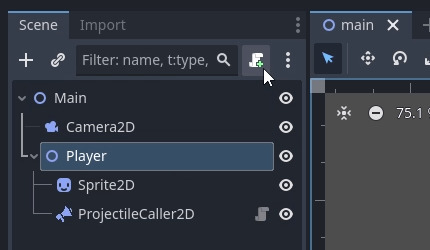
- Let's create a standard scene. A Camera2D and a Node2D as our player will do the job.
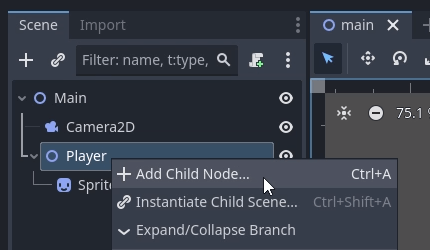
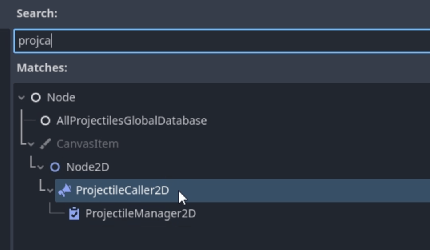
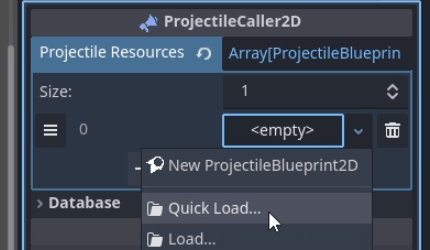
- In order to spawn Projectiles we will have to add a ProjectileCaller2D Node to our player.
- ProjectileCallers will create the projectiles assigned on their Projectile Resources arrays.
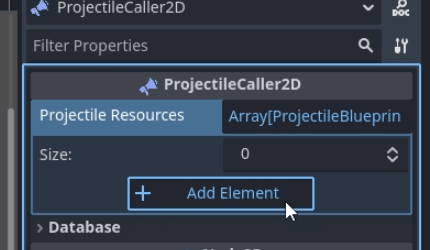
- For now, select one of the ProjectileBlueprint2Ds that already come with the addon.
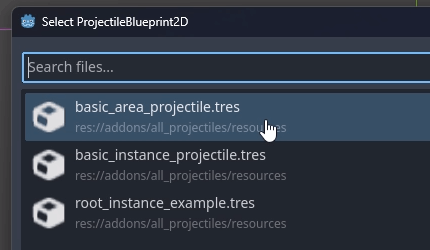
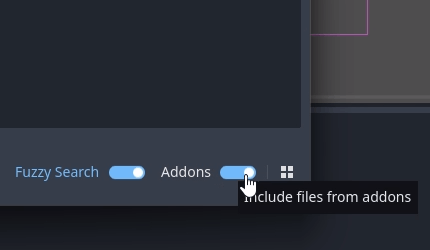
- Remember to enable the "Include files from addons" option.
Creating a Projectile
We have the scene, we have the player, we have the projectiles set up, all we need now is a way to communicate with the ProjectileCaller Node and request its projectiles.
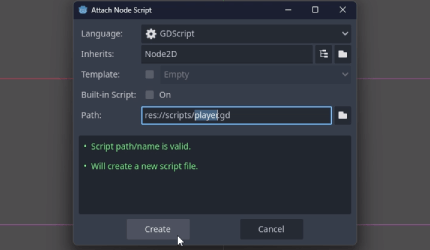
Let's attach a script to the player and call it from there.
From the script, access the ProjectileCaller Node and call the request_projectile method each time you click your mouse. You will need to pass the projectile index, the start position and the desired destination.
extends Node2D

@onready var projectile_caller: ProjectileCaller2D = $ProjectileCaller2D


func _input(event):
	if event is InputEventMouseButton:
		if event.button_index == MOUSE_BUTTON_LEFT and event.pressed:
			projectile_caller.request_projectile(0, position, get_global_mouse_position())
Congratulations, you have created your first projectile!