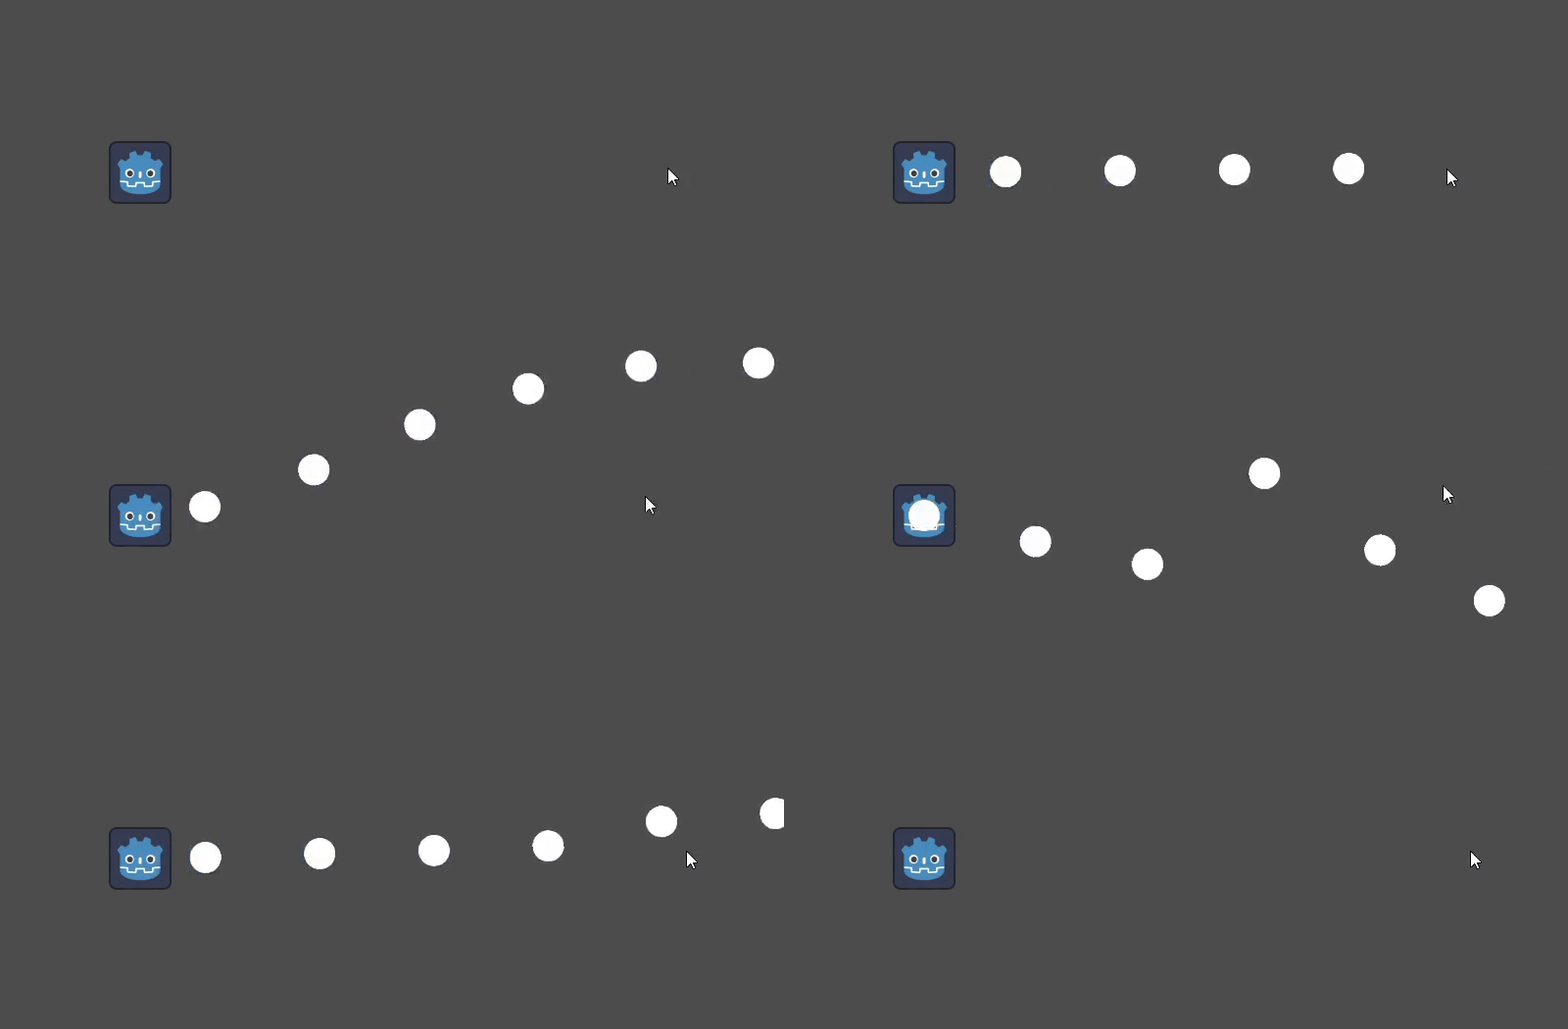
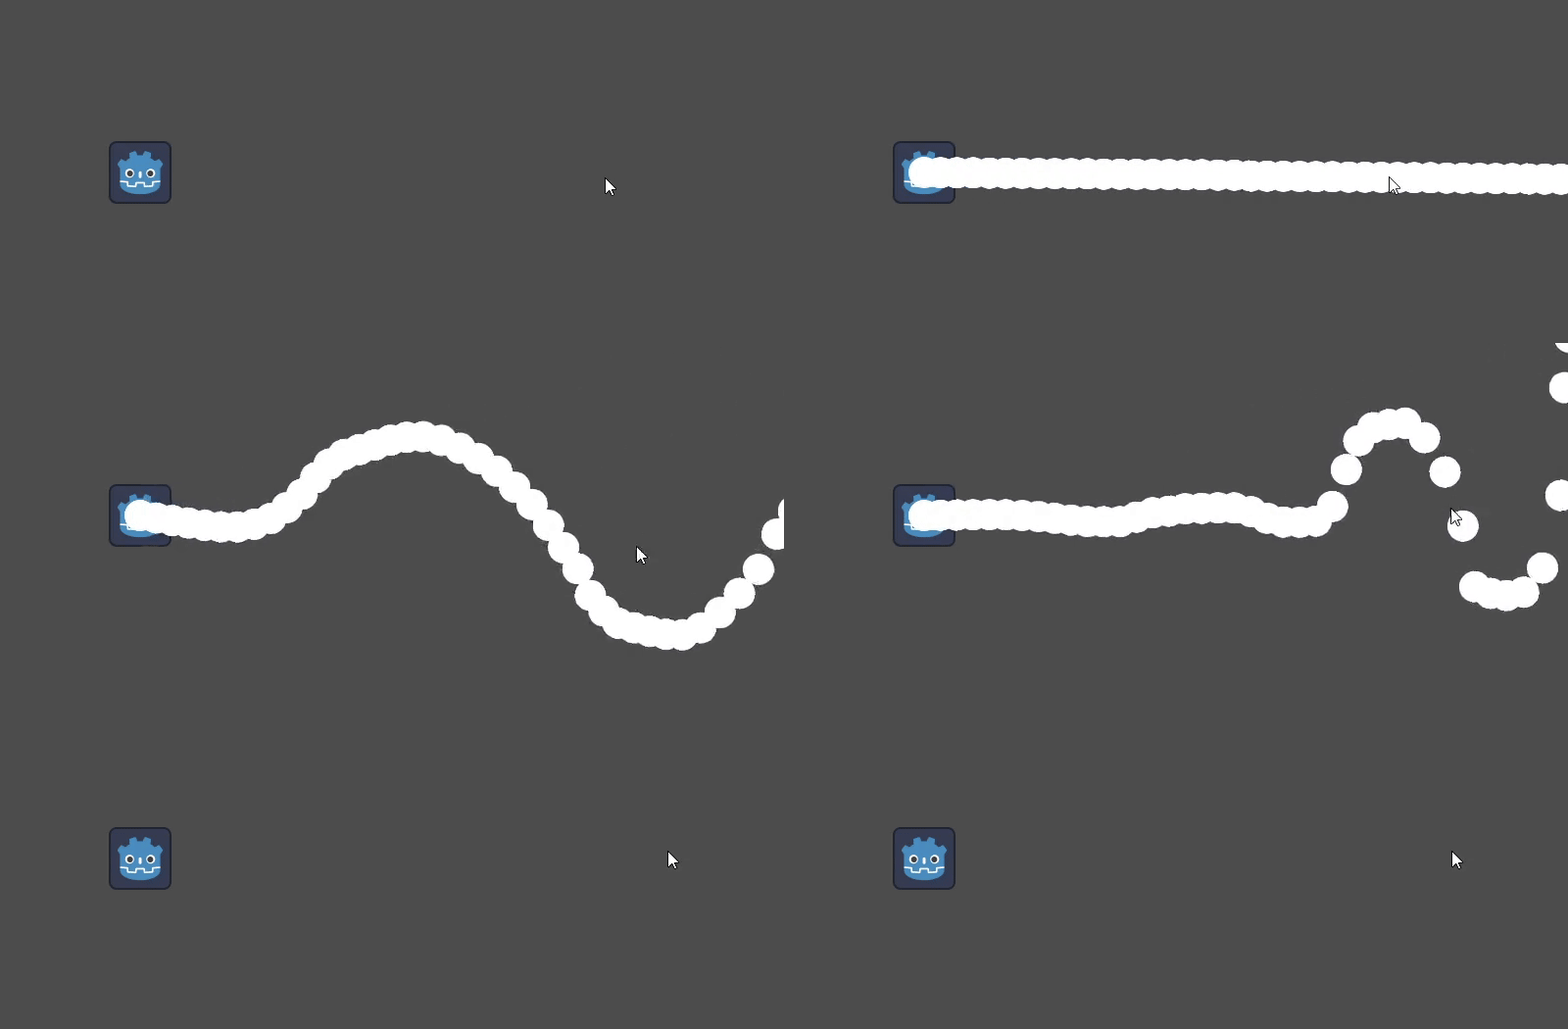
Using Attacks as weapons
Attacks2Ds are a convenient way to convert a constant input stream into an orderly timed projectile barrage. They work practically the same way as Projectiles, using AttackBlueprint2Ds as Resources that create the actual in-game objects.
Let's use them to create a bow for our arrows!

Creating Attack Blueprints
Inside any folder off your File System Dock, right click and select Create New Resource and search for AttackBlueprint2D.


Now you have a simple way to alter the behavior and properties of your Attacks.

Using Projectile Managers
To use Attacks, you will need the help of ProjectileManager2Ds. ProjectileManagers are an extension of ProjectileCallers, and like the latter, you can use them to request the creation of any of your projectiles.
The main difference between these two is that ProjectileManager2Ds work in conjunction with AttackBlueprint2D to handle the firerate of your projectiles, even under constant request.
With ProjectileManager2D:

extends Node2D

@onready var projectile_manager: ProjectileManager2D = $ProjectileManager2D

func _process(_delta: float) -> void:
	if Input.is_mouse_button_pressed(MOUSE_BUTTON_LEFT):
		projectile_manager.request_execution(0, 0, position, get_global_mouse_position())
With ProjectileCaller2D:

extends Node2D

@onready var projectile_caller: ProjectileCaller2D = $ProjectileCaller2D

func _process(_delta: float) -> void:
	if Input.is_mouse_button_pressed(MOUSE_BUTTON_LEFT):
projectile_caller.request_projectile(0, position, get_global_mouse_position())- Let's replace our player's ProjectileCaller2D with a ProjectileManager2D.


- Now assign your Attacks and Projectile Blueprints on the ProjectileManager2D node.

- And request the execution of your desired Attack and Projectile.
extends Node2D

@onready var projectile_manager: ProjectileManager2D = $ProjectileManager2D


func _process(_delta: float) -> void:
	if (Input.is_mouse_button_pressed(MOUSE_BUTTON_LEFT)):
		projectile_manager.request_execution(0, 0, position, get_global_mouse_position())
Modifying Attacks through code
So I created this cool bow and some animations that I want to attach to my attack charge. How do I do that?


Just like your Projectiles, your Attacks also store Callables that are called at specific situations and that can be replaced. See Attack2D for more information.
Inside our Player's script, let's add two methods, one that plays an animation at the beginning and other at the end of the attack charging phase. Then we attach them to our main attack.
extends Node2D

@export var separation: int = 30

@onready var projectile_manager: ProjectileManager2D = $ProjectileManager2D

@onready var bow: Sprite2D = $Bow
@onready var animation_player: AnimationPlayer = $AnimationPlayer


# In this example we set our custom charging functions at our attack with index (0).
func _ready() -> void:
	animation_player.play("idle")
	projectile_manager.get_attack(0).set_on_charge_enter(on_charge_enter).set_on_charge_exit(on_charge_exit)


# Attacks work even under constant requests.
func _process(_delta: float) -> void:
	var direction: Vector2 = (get_global_mouse_position() - position).normalized()
	bow.position = direction * separation
	bow.rotation = direction.angle()

	if (Input.is_mouse_button_pressed(MOUSE_BUTTON_LEFT)):
		projectile_manager.request_execution(0, 0, position + (direction * separation), get_global_mouse_position())


# In order to function, your custom method must follow a defined pattern.
func on_charge_enter(attack: Attack2D) -> void:
	animation_player.play("charge")
	attack.charge_enter()


# Note: Unlike projectiles, assigning custom methods to your attacks will overwrite its “normal” funcionality.
# If you want to keep its default functionanily you will have to invoke these “normal functions” inside your custom methods
func on_charge_exit(attack: Attack2D) -> void:
	animation_player.play("idle")
	attack.pi.destination = get_global_mouse_position()
	attack.charge_exit() # <- Like this!
You can download the used bow textures here.
Remember that you can also change the properties of your attack charge phase from your AttackBlueprint2D.

